-

Envíenos un correo electrónico
sale@lscmagnetics.com -

Número de contacto
+86 -13559234186
Envíenos un correo electrónico
sale@lscmagnetics.comNúmero de contacto
+86 -13559234186

En la producción de componentes de hormigón prefabricado, la correcta colocación de las barras de refuerzo es fundamental para la seguridad estructural y la durabilidad. Sin embargo, el desplazamiento de las barras de refuerzo es un defecto de calidad común. Una vez que ocurre, puede afectar la apariencia del componente, reducir su capacidad de carga o incluso inutilizar la pieza por completo. Entonces, ¿cómo podemos prevenir eficazmente el desplazamiento de las barras de refuerzo? Este artículo ofrece una solución sistemática.
¿Por qué las barras de refuerzo son propensas al desplazamiento?
Para resolver el problema, primero debemos comprender sus causas. En la producción de hormigón prefabricado, el desplazamiento de las barras de refuerzo suele ser consecuencia de los siguientes factores:
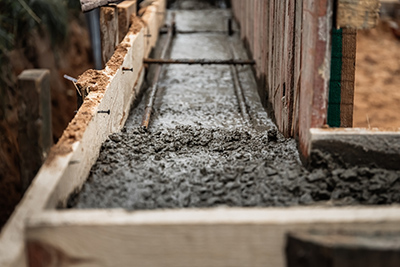
Impacto de vertido – El hormigón que cae de la tolva o de la línea de bombeo golpea directamente la jaula de barras de refuerzo.
Perturbación por vibración – Las vibraciones internas o externas desplazan las barras de refuerzo de su posición prevista.
Fallo del espaciador – Los separadores de las barras de refuerzo están aplastados, se deslizan de su lugar o son insuficientes en número.
Deformación del encofrado – Los encofrados laterales se desplazan hacia afuera bajo la presión lateral del hormigón fresco.
Elevación y transporte – Los componentes no endurecidos sufren golpes durante su manipulación.
Ocho medidas clave para prevenir el desplazamiento de las barras de refuerzo
1. Utilice marcos de posicionamiento de barras de refuerzo de alta precisión.
Las plantillas de montaje de armaduras o las plantillas de posicionamiento soldadas específicas garantizan un espaciado y una alineación uniformes de las barras. Para componentes prefabricados complejos (por ejemplo, losas compuestas y losas de doble T), se recomienda una línea de soldadura CNC de malla de armaduras, ya que proporciona soldaduras resistentes y dimensiones precisas.
Consejo práctico: Calibre los marcos de posicionamiento periódicamente (cada 100 piezas o semanalmente) y pida al operario que verifique la primera pieza.
2. Seleccione espaciadores de barras de refuerzo de alta calidad.
Material: Prefiera separadores de plástico o mortero de alta resistencia; evite los frágiles a base de cemento.
Forma: Los espaciadores cónicos o en forma de rueda con ranuras sujetan firmemente la barra y evitan que se deslice.
Espacio entre separadores: Mantenga una distancia entre separadores de entre 500 mm y 800 mm; coloque separadores tanto en la parte inferior como en los laterales.
3. Coloque correctamente las barras de soporte (sillas) y las barras de amarre.
Para elementos de malla de doble capa o losas, se deben colocar suficientes barras de soporte (soportes). Estas deben soldarse o atarse firmemente, con una separación que generalmente no supere 1 m. Las barras de refuerzo verticales se pueden fijar con estribos de posicionamiento soldados o arriostramientos temporales.
4. Optimizar la secuencia de vertido del hormigón
Evite verter el hormigón directamente sobre la jaula de varillas de refuerzo; en su lugar, viértalo sobre el borde del encofrado o sobre un deflector y deje que fluya.
Vierta en capas, de 300 a 500 mm de espesor cada una.
Para vigas o columnas de gran profundidad, utilice un tubo tremie o un tubo guía para dirigir el flujo del hormigón.
5. Controlar las prácticas de vibración
Nunca apoye el vibrador directamente sobre el refuerzo.
Mantenga el vibrador alejado de los espaciadores para evitar desplazarlos o romperlos.
Utilice un vibrador de alta frecuencia y baja amplitud. Vibre solo hasta que la superficie del hormigón muestre una capa de lechada y no se formen más burbujas de aire.
6. Reforzar la rigidez y el bloqueo del encofrado.
El encofrado, especialmente el lateral, debe ser suficientemente rígido (la presión lateral se puede calcular). Ajuste la separación entre las barras de sujeción y los dispositivos de fijación. Antes del vertido, compruebe las juntas con un calibrador de espesores para evitar que se produzcan reventones que podrían desplazar las barras de refuerzo hacia afuera junto con el encofrado.
7. Utilice un sistema de fijación magnética (para moldes de acero).
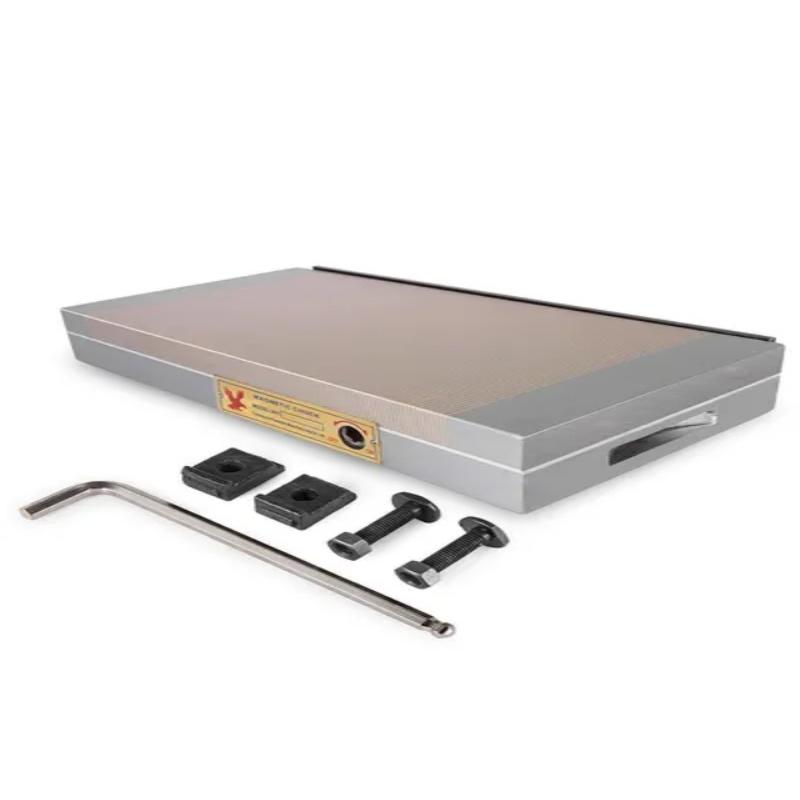
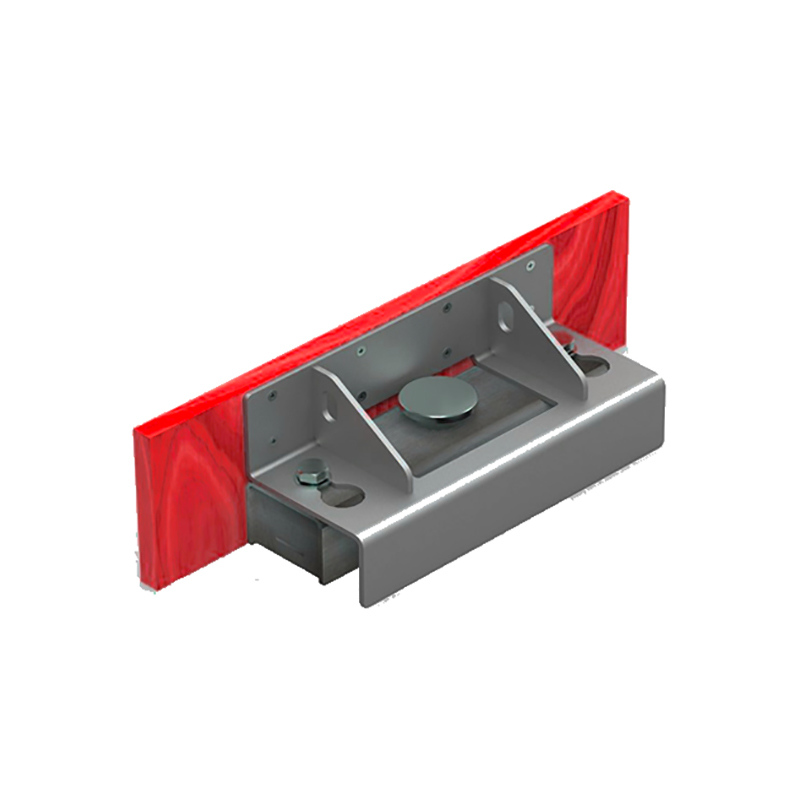
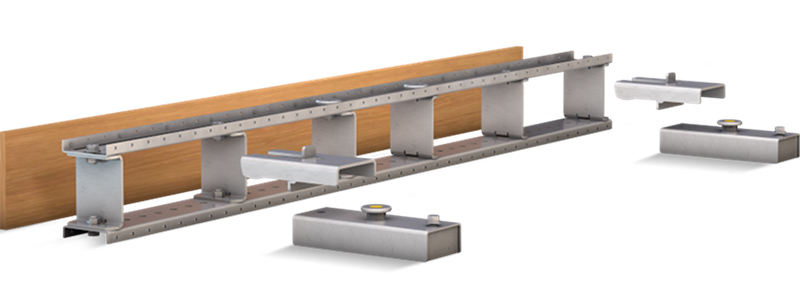
Sobre paletas de acero planas, fuertes soportes magnéticos Los imanes pueden fijar los extremos de las barras o los espaciadores. Este método permite un ajuste flexible y un posicionamiento preciso, ideal para la producción estandarizada.
8. Asegurar un curado y protección adecuados desde temprana edad.
No mueva ni golpee el componente antes de que el hormigón haya fraguado inicialmente. Si es necesario desmoldar antes de tiempo, espere hasta que el hormigón haya alcanzado la resistencia suficiente (normalmente ≥5 MPa). Durante el curado con vapor, evite que las gotas de condensación impacten en las barras de refuerzo.
Inspección y corrección de calidad
Antes de verter: utilice una cinta métrica y una regla para verificar el espesor de la capa, la separación entre las barras y el número de barras de soporte.
Durante el vertido: Asigne a una persona específica para que supervise continuamente; detenga el proceso y realice los ajustes necesarios de inmediato si detecta algún problema.
Tras el desmoldeo: Compruebe aleatoriamente el espesor del recubrimiento en zonas clave con un escáner de barras de refuerzo.
Si se produce un desplazamiento menor, se puede corregir mediante cincelado, recolocación y rejuntado. Sin embargo, un desplazamiento severo implica que la pieza debe desecharse; no se debe transigir.
Más vale prevenir que curar: este dicho cobra especial relevancia en la producción de hormigón prefabricado. El movimiento de las barras de refuerzo puede parecer un problema menor, pero puede desencadenar una serie de problemas de calidad. Con herramientas de posicionamiento de alta precisión, parámetros de proceso adecuados e inspecciones rigurosas en cada etapa, podrá eliminar definitivamente este persistente defecto. Esperamos que estas ocho medidas aporten mejoras tangibles en la calidad de su línea de producción de prefabricados.
Whatsapp : +86 -13559234186
Correo electrónico : sale@lscmagnetics.com
Teléfono : +86 -13559234186